Try-ons
Set up try-on appointments
Let customers book in-store try-ons from your product pages.
1. Link a try-on product
Try-ons are paid through a Shopify product. In Try-ons, click Create Try-On Product, or link an existing Shopify product. Its variant price is what customers pay, with no separate app fee. The try-on calendar stays hidden until a product is linked.
2. Add locations
Under Try-on locations, add each showroom or studio. Each location has its own booking rules, hours and blackout dates.
3. Set booking rules
- Enable try-on bookings
- Show the try-on calendar on your storefront.
- Holiday mode
- Pause all try-on bookings without changing your settings.
- Try-on location
- The address shown to customers.
- Appointment duration
- How long each slot lasts.
- Buffer time
- The gap between back-to-back appointments.
- Max bookings per slot
- How many customers can book the same time.
- Booking notice period
- Minimum lead time before a slot can be booked.
- Booking window
- How far ahead customers can book.
- Manual booking availability override
- Lets staff-created bookings ignore the notice period, window, hours, blackouts, holiday mode and slot limits.
4. Set hours and blackout dates
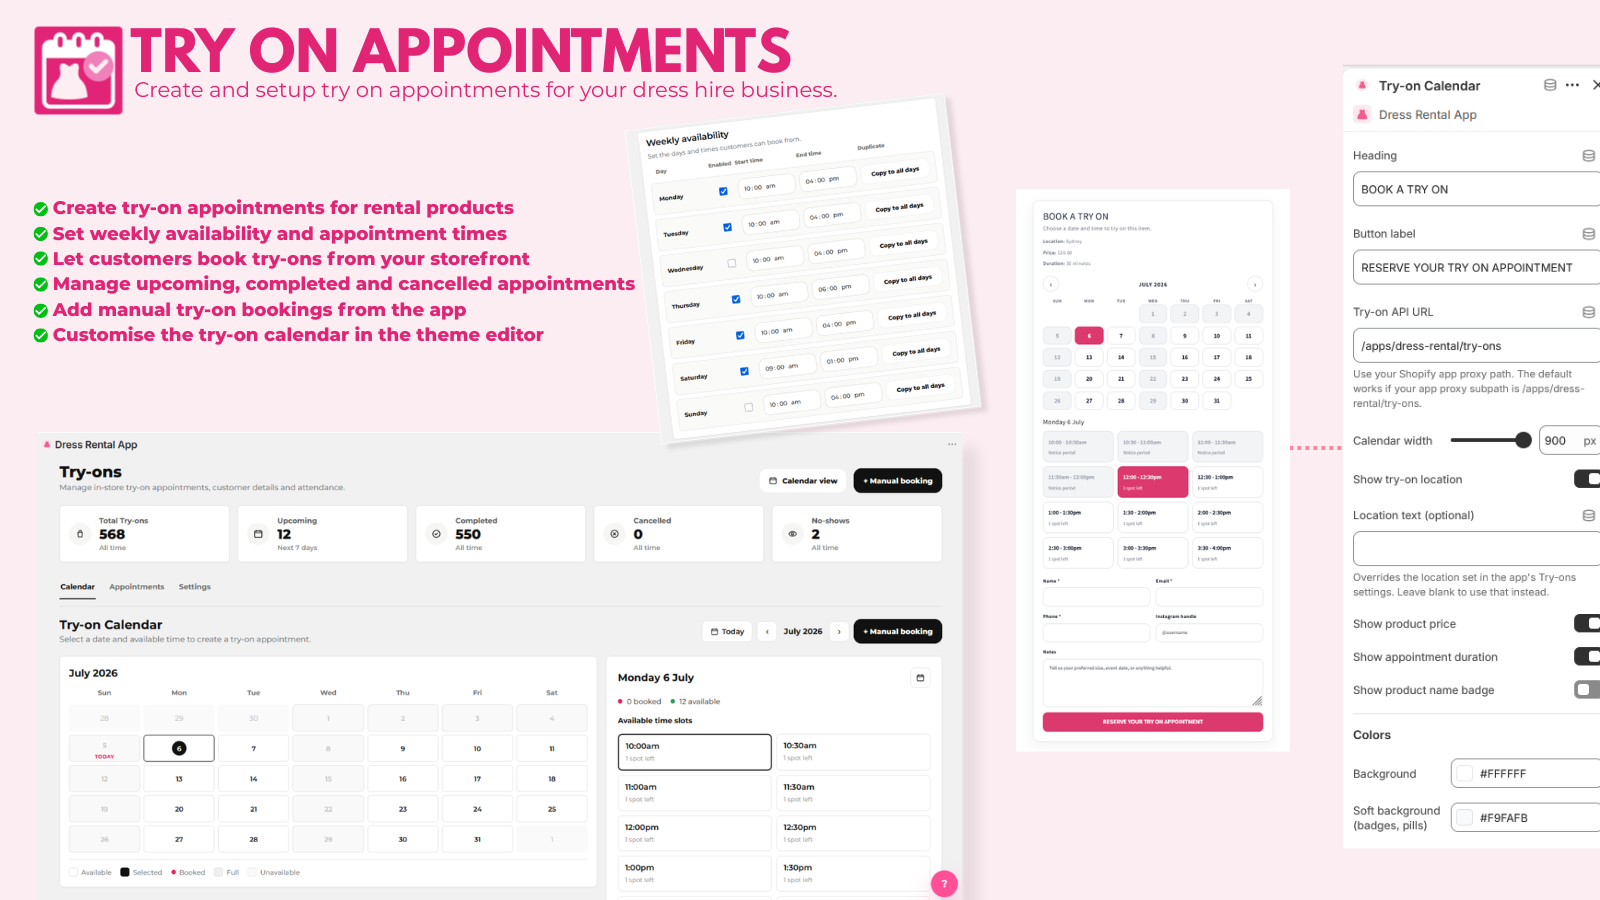
Under Weekly availability, set the start and end time for each day you take appointments. Under Blackout dates, block specific dates or ranges. Then click Save Settings.
5. Add the calendar to your theme
Add the Try-on Calendar block to your product template. Guide